
Today, I wanted to walk through the crazy adventure we had updating the rock wall in our living room. When we walked through the home, the rock wall was a stunning feature. It covers the area surrounding the fireplace and then three walls that make a little corner hideaway spot, tucked away from the main living room space.
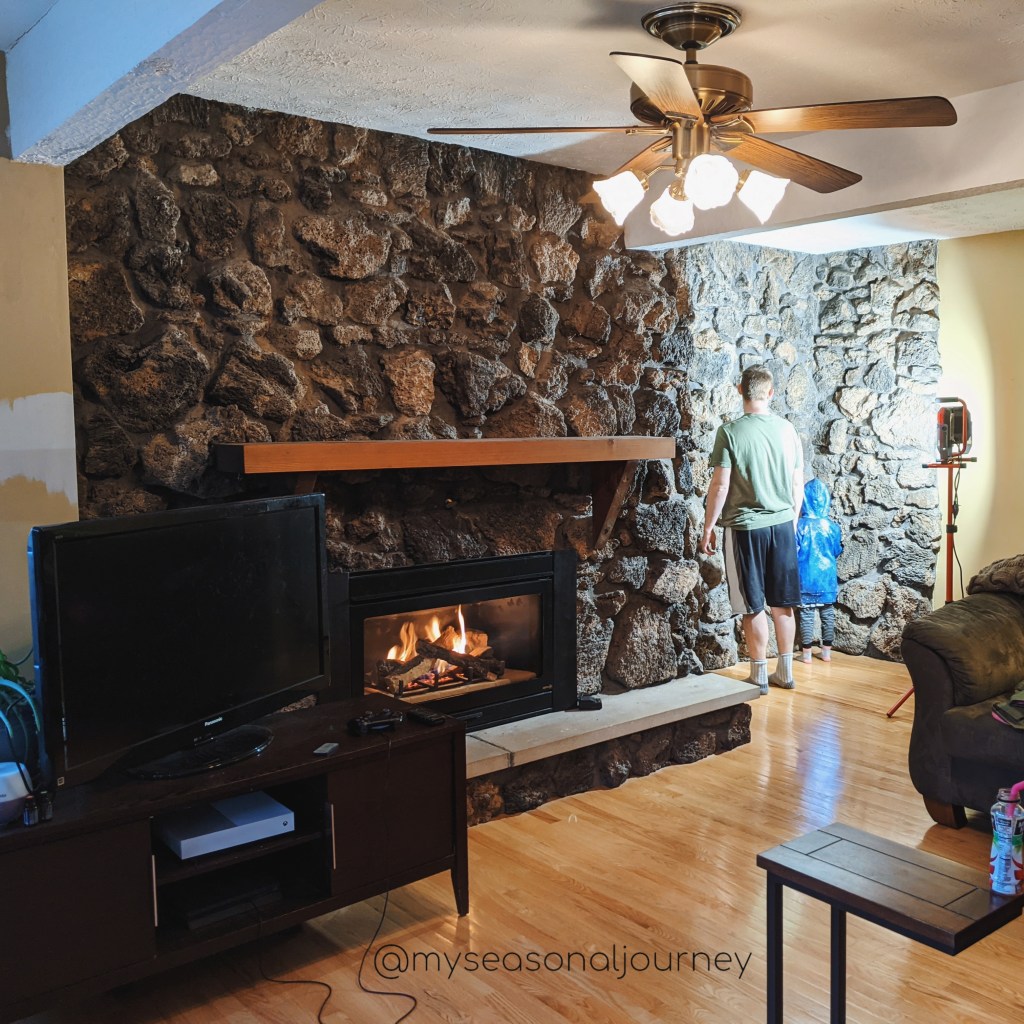
Here is a good shot to show the area of the rock wall. The spotlight is on, but usually this is a dark corner. It’s the perfect spot for a reading or knitting spot with a wing back chair. I have always wanted a wing back chair. But anyway, you can see there is a lot of the rock wall. It covers a huge area in our living room. I knew I had to paint it. Now, if you are one of those people saying, “Don’t paint it!” I hear you, but let’s unpack that for a minute. First, it’s brown. Second, it’s actually like 5 shades of brown and the mortar is dark gray so it clashes and I can’t fit any of these shades into any design aesthetic that I can live with. This picture shows the varieties int he shades.

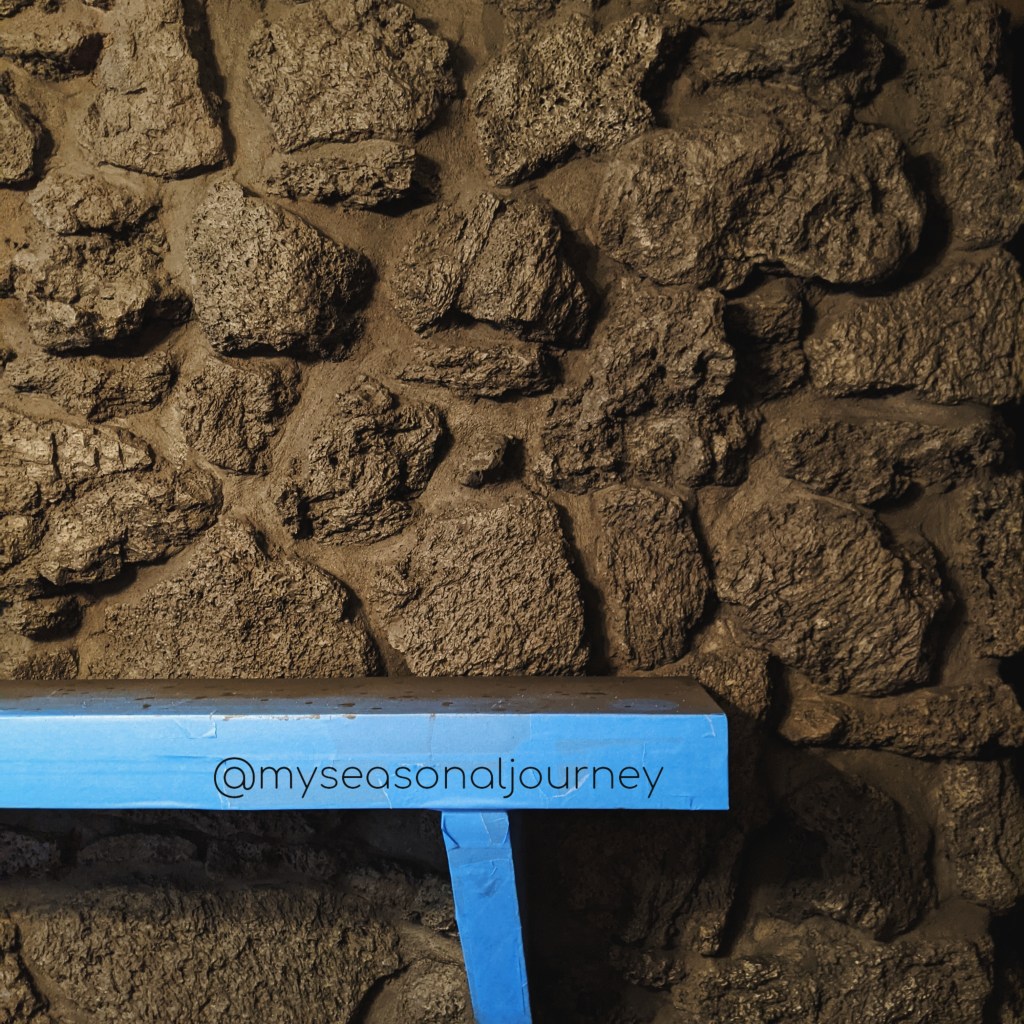
I love the texture, and it has incredible depth. Some of these rocks stick out from the wall three or four inches. It had to be painted though. Now, I didn’t want anything high gloss and I didn’t want to lose the texture, so I found a blog post on Instagram that used a 1 part paint, 1 part water solution to kind of stain wood and I thought, let’s try that. I got my favorite Chimney Smoke color from Valspar and used a sponge so I could kind of just sponge it on there. That worked up to a point.
It was taking a long time and I wasn’t able to fill in all the nooks and crannies. I worked on one small section all day and then I let it dry over night and there were unpainted holes everywhere. It was pretty discouraging. That’s when my husband spoke up. He paints Warhammer models and he suggested we use on his techniques from that and apply it to the wall. What if we used black spray paint to get in all the nooks and crannies and caves and then sponged on the color we wanted. It would add depth and the nooks and crannies would be in shadow most of the time anyway. So, we bought two cans of spray paint and decided to try a test patch.
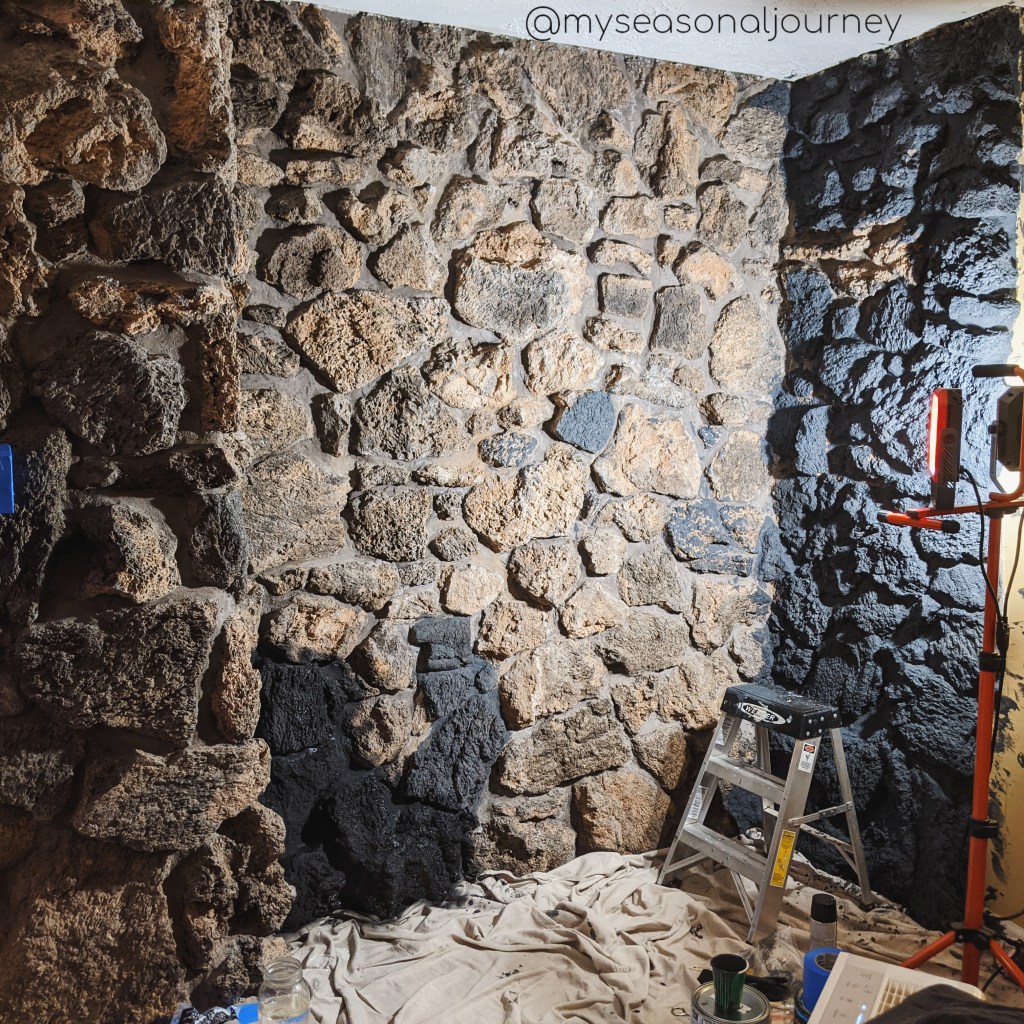
The wall on the right is the wall I spent an entire day sponging with Chimney Smoke and the wall on the left is what my husband sprayed with the spray paint. The spray paint did get in all the nooks and crannies better, but the smell and fumes were too much, so we needed a different plan. We talked about buying a paint sprayer, but they were expensive. My mom came by to help at about this point and it turns out that she owns a paint sprayer. This was really the turning point in the project.
We went to buy more paint. We decided what once we saw the black black and the chimney smoke color next to each other, we liked the black black better, so we bought Dark Kettle Black from Valspar and I taped and tarped everything I could. Now, I try to keep my home renovations projects as zero waste as I can. I have canvas tarps and old sheets for tarps for painting. I usually forgo blue painters tape and just cut everything in myself. However, with the paint sprayer and all of my things still in the living room, I bought plastic tarps and taped up the beautiful mantle. If anyone has better solutions, I am all ears for future projects.

I actually really enjoy the chaos that comes from home renovation projects. The chaos is temporary and it is a sign that something is changing and is going to be better. Once I had everything covered and taped, we mixed our 1:1 solution and got to spraying. Now, I mentioned the depth of the rocks on this wall. I had to spray every rock from above, from below and from both sides. It was quite an arm workout. But the work went much faster. We covered our earlier patches and everything was all one color. Here is a shot from where were stopped at the end of the second day. We ran out of paint and decided that was a sign to call it a day.

The next morning, I got up and finished the last half of the mantle wall and then went back over the dry areas I had sprayed the day before and filled in all the angles I had missed. There were a ton. I could probably still find spots today if I wanted to. I am so happy with how it turned out. The 1:1 mixture really preserved the texture and with the wall being all one color, the texture really pops out more now.
This wall went from being drab and dirty and something your eye slid away from to being fresh and new and so interesting. Now, I find my eye lingers on the wall to look over every rock. I am so in love with it. The black is perfect. The dark corner is pretty dark, but now I have a really excuse to buy a C lamp like I have always wanted. It’s going to hang over the wing back chair I have always wanted.

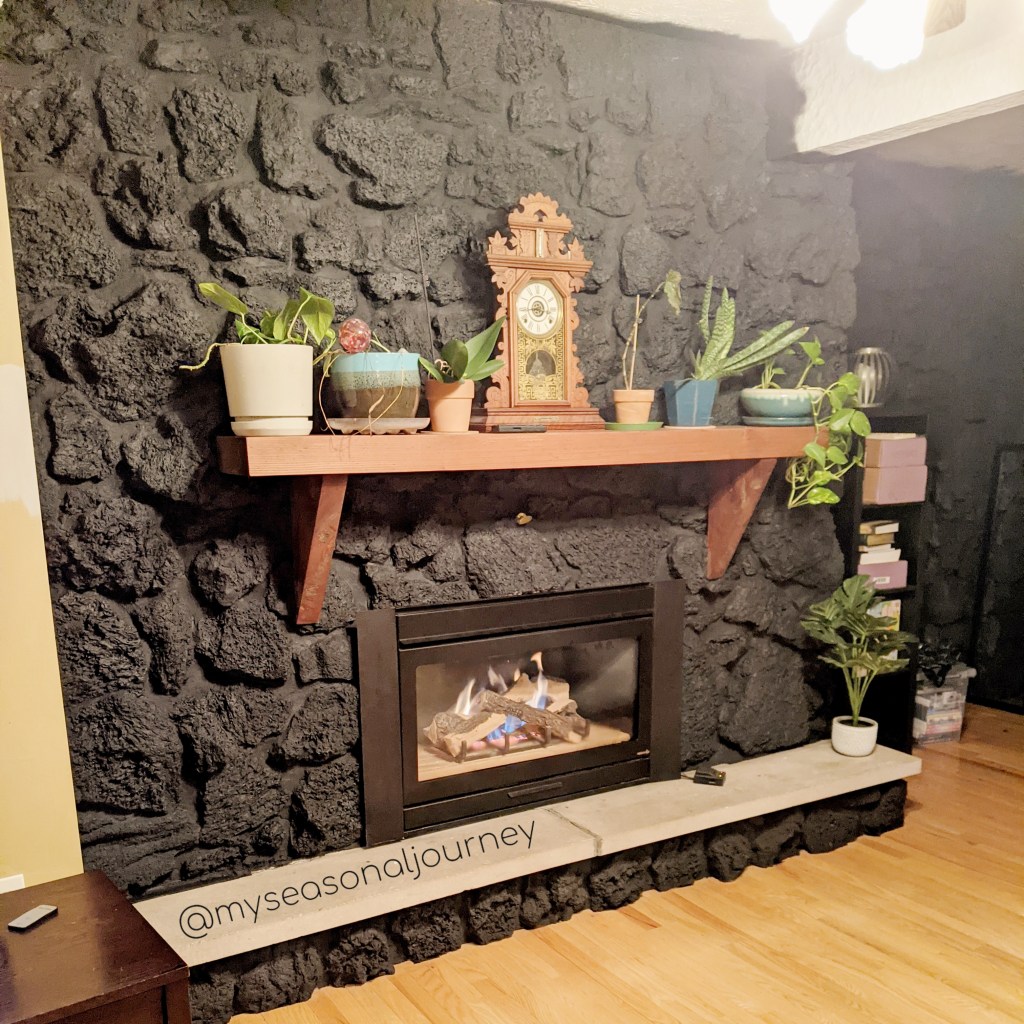
The mantle totally pops now. Before it got lost with all the brown, but now it shines. I love how it looks covered in plants. It reminds me of this photo I saved on Pinterest forever ago.

I think this project really solidifies my intention to make this house my own and turn it into something I am in love with and fill it with things I have always wanted and make it into a place I can stay in forever. If I could pass on any wisdom to others, it might be that if there is something about your life that you don’t like, change it. Life is better on the other side.

Wow, that’s beautiful!
LikeLiked by 1 person
Thank you! I am so in love with how it turned out.
LikeLiked by 2 people